Aerobie owner Alan Adler’s Aeropress is a newcomer to the world of coffee brewing devices. And it has a lot going for it…
Compact.
Fast brew time.
Portable.
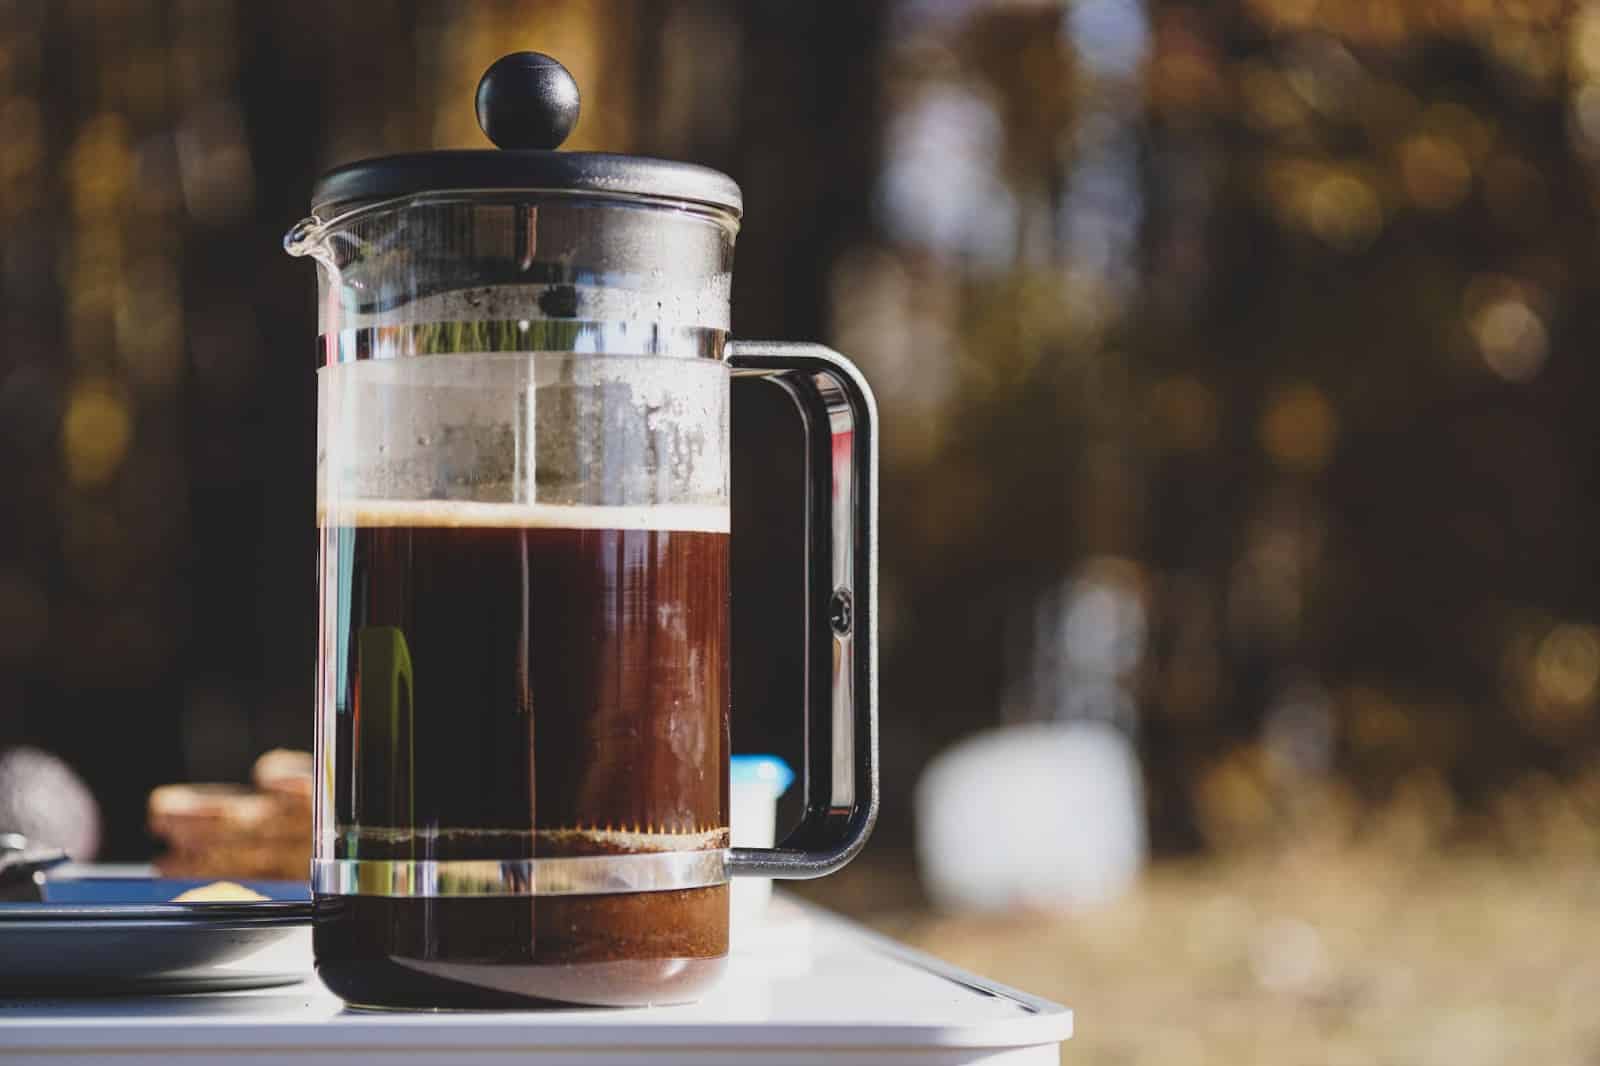
Regarding ease of use, we’d rate it somewhere between a French press and a pour-over. Slightly more involved than a French press but a little less fussy than crafting the perfect pour-over with your Hario V60.
Ready to learn how?
This brew guide will cover the step-by-step instructions for using your Aeropress. This guide covers everything from the regular process to the inverted method, cold brew to Aeropress espresso.
How To Grind Coffee Beans for the Aeropress
Let’s start with the essential ingredient — fresh coffee beans.
Experts agree that buying whole bean coffee, not pre-ground, is the way to go. Most pre-ground coffee (unless otherwise specified) is a medium grind. A medium grind is great for automatic drip coffee makers, but it’s not the preferred grind size for Aeropress*.
Ideally, you’ll want to hold off on grinding until right before you brew! To accomplish this, you’ll want your own coffee grinder. Burr grinders are superior to blade grinders because they provide a more consistent grind.
For the Aeropress, you’ll want a medium-fine grind size. You can work an espresso grind; however, it may take longer to press.
*If you use pre-ground coffee from the store, you’ll need to adjust your steep time (longer) and may even need to use more coffee per brew.
Coffee Grinder Recommendations
Don’t have a grinder yet?
Allow us to suggest a few!
JavaPresse Manual Burr Coffee Grinder
Since you’re working with an Aeropress, which only brews a single cup at a time, you can get away with a hand grinder here. (However, if you have it in your budget, an electric burr grinder will save you a lot of hassle.)
For manual grinders, we like this Javapresse brushed stainless steel option. It has 18 grind settings and dual-plated ceramic burrs, and it’s quiet. Since it’s lightweight, portable, and doesn’t even require batteries, it’s a great choice for camping/road trips!
Baratza Encore Conical Burr Coffee Grinder
This electric grinder is from a family of award winners! The Specialty Coffee Association (SCA) and baristas everywhere adore Baratza grinders.
While it will set you back quite a bit more than a manual grinder, it offers significantly less effort on your part for grinding beans. With 40 grind settings, hardened alloy steel burrs, and a one-year warranty, it’s simple to see all the buzz.
If you don’t want to hand grind or drop over $100 on a new appliance, check out Cuisinart’s DBM-8 Automatic Burr Mill.
With a coffee grinder, you can grind beans to the right consistency, including finely for a Turkish coffee maker.
Coffee-to-Water Ratio for Brewing Aeropress
An important step in Aeropress instructions?
Measuring out the right amounts of coffee and hot water!
It’ll make your life much easier if you grab a digital scale to weigh these parts in grams.
How Many Grams of Coffee Do I Use for Aeropress?
You’ll want between 15 to 18 grams of coffee for a single cup (use more for stronger, less for weaker). For non-scale users, 15 grams is just over a tablespoon.
You’ll want at least 200 grams of water. The Aeropress can hold ~250ml at a time, which is about the same as an eight-ounce cup of coffee.
Get to Know Your Aeropress Parts
The largest piece of your new Aeropress coffee maker is the brewing chamber. The filter cap screws onto the bottom of this piece, and the funnel sits on top to make pouring the hot water a bit easier.
The second largest part is the plunger — the silicone makes it easy to identify!
You also get accessories like a stirrer, a coffee scoop, and 350 paper microfilters in their own holder.
The included paper filters are compostable; all pieces are BPA and phthalate free.
Wait, You Have an Aeropress, Right?
If you’ve made it this far but don’t actually own an Aeropress yet (gasp), you can order one directly from their website. Or, if you’re a Prime member, grab one with your speedy shipping on Amazon.
The original design and the Aeropress Go are just under $40 on both sites.
Discover: Aeropress vs. French Press Coffee: Which Is Better?
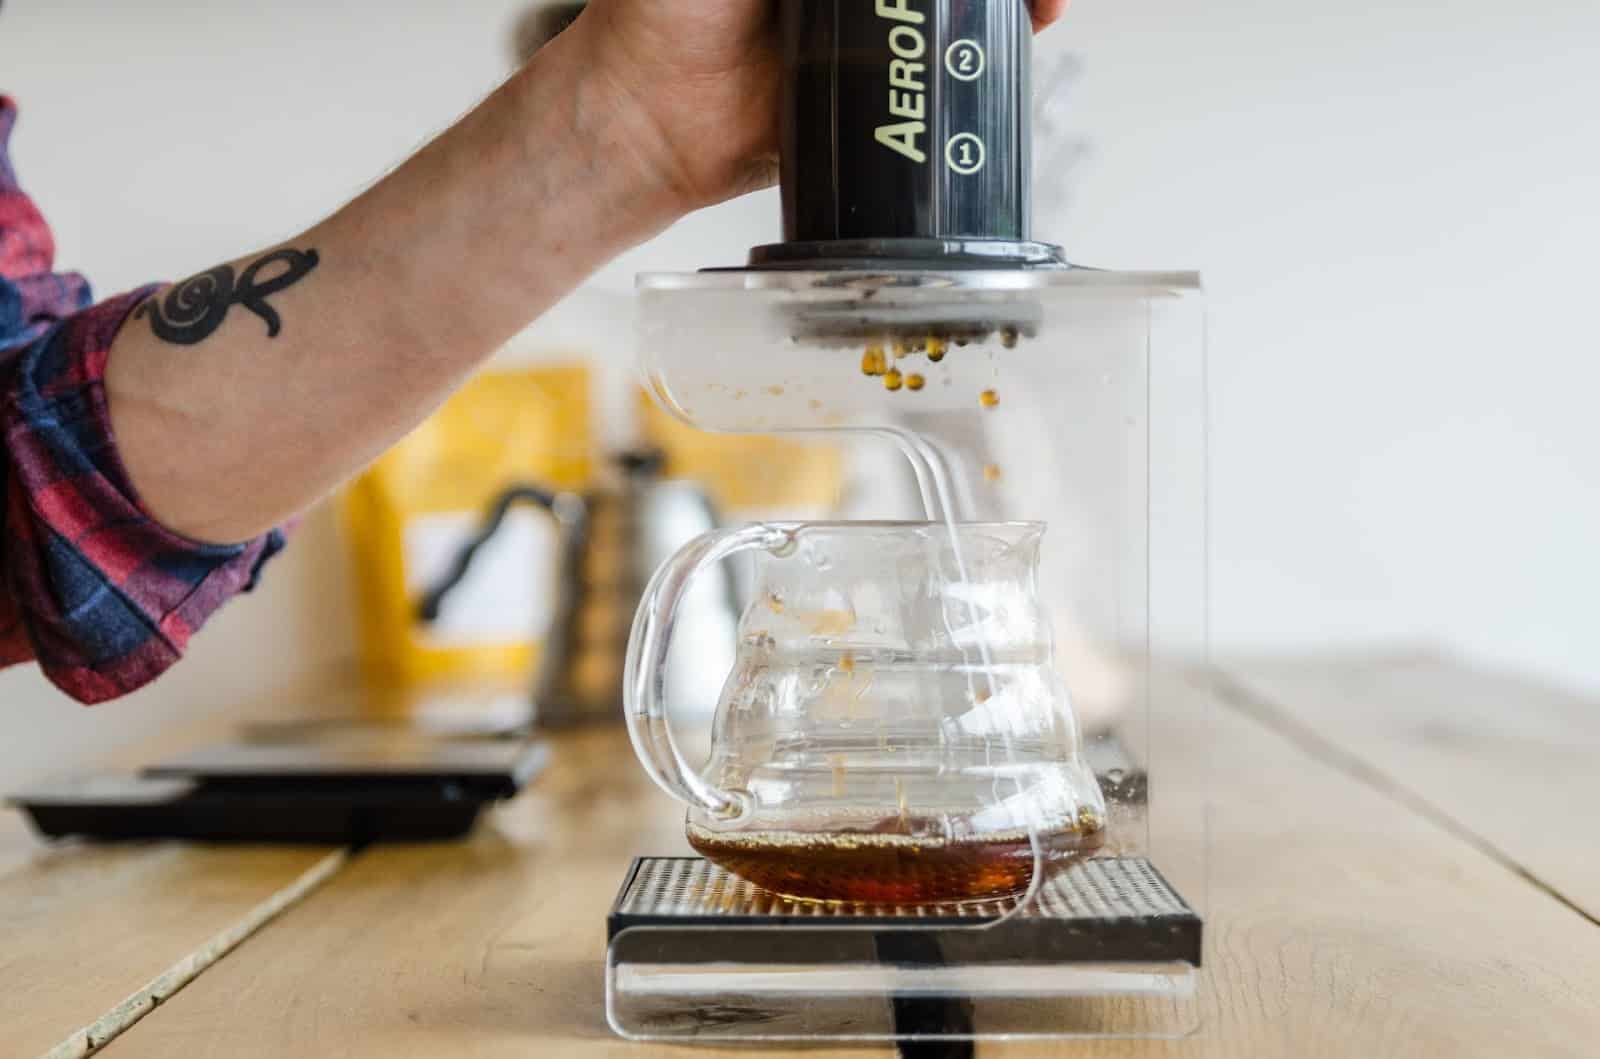
Step-by-Step Brew Guide for a Perfect Cup of Aeropress Coffee

Grab the Aeropress and your favorite mug, and let’s brew this!
Brew time: ~1 minute
Directions
- You’ll need hot water; put the kettle on to boil some — preferably — filtered water. You want the temperature of your water to be just under boiling when you brew (~200 degrees). An electric kettle with a gooseneck spout is perfect for this coffee brewing method and other coffee brewing methods.
- While your water is coming to a boil, grind those fresh coffee beans down to a fine consistency (similar to table salt).
- Place a paper filter into the filter cap and gently wet it (with a little hot water) before screwing it securely into the brewing chamber.
- Put the brewing chamber over your coffee mug, filter cap side down. Top the brewing chamber with the funnel.
- Add your ground coffee first, followed by hot water.
- Remove the funnel and use your coffee stirrer for 10-30 seconds.
- Take your stirrer out and seal the plunger to the brewing chamber.
- Being you’re pressing down on the plunger, there should be some resistance. When all the water has pressed out, you’ll hear a hissing sound which means you’re done!
Enjoy your delicious coffee!
Explore: Moka Pot vs. French Press
How to Brew with the Inverted Aeropress Method
There’s also an alternative way to brew Aeropress coffee that you may wish to explore:
The inverted method.
If you find your coffee leaking through the filter cap before you finish brewing and are ready to plunge, this solution will fix that. And all you have to do is turn it upside down.
Brew Time: ~2 minutes
Directions
Use steps one and two from above, but when you get to step three, set the filter cap aside and continue in this manner:
- Insert the plunger into the brewing chamber, checking that the seal is tight. Place the bottom of the plunger on your digital scale if using one and hit “tare” to zero it out. Weigh out your ground coffee directly into the Aeropress. Hit “tare” again.
- However many grams of coffee you choose to use, double that number — that’s how many grams of water to add for this step. (Ex: For 15 grams of coffee, use 30 grams of water.)
- Use the coffee stirrer to ensure all the grounds are saturated, then wait about 30 seconds.
- Gently pour in the rest of your water and wait one full minute.
- Stir the grounds again before screwing the Aeropress filter on.
- Now for the fun part: flip! Flip the entire Aeropress coffee maker over and settle it on top of your mug.
- Press down on the plunger and listen for the hissing sound.
Making Cold Brew in the Aeropress
Aeropress cold brew, is that a thing?
Absolutely!
Unlike other cold brew recipes, this one is lightning quick and doesn’t require coarsely ground coffee. That makes it the best way to beat the heat when you’re short on time and need caffeine.
Brew Time: ~1 minute
Directions
- Put a paper filter in the filter cap and screw it onto the brewing chamber. Place it over a glass with the Aeropress filter side down.
- Use the coffee scoop that came with your Aeropress to measure one rounded scoop of finely ground coffee into the brewing chamber. (Use the funnel if necessary.)
- Numbers are printed on the side of your Aeropress; you want to fill the press with room temperature or cold water up to the number two.
- Use the paddle to stir the coffee briskly for a full minute.
- Put the plunger on and press gently until all the water is out.
- Add extra water, icy cold is best, so you have a full eight-ounce coffee.
- Optional: Add some cream or your favorite sweetener!
There are even some awesome accessories you can get to make the cold brew process easier. Read about the PuckPuck attachment in our article: The AeroPress Accessories Needed to Make Amazing Coffee.
Related: Learn how to make Nitro Cold Brew at home.
How To Make Aeropress “Espresso”
Espresso machines can provide anywhere from nine to fifteen bars of pressure. The Aeropress offers only a fraction of that pressure. So it won’t be “true” espresso.
But your Aeropress can make an intense brew that’s pretty dang close.
Aeropress Espresso Directions
- Heat some water to 195 degrees F, rinse a microfilter, and set it in the filter cap off to the side.
- Insert your plunger about halfway into the Aeropress brewing chamber (inverted method style).
- Finely grind your beans; you’ll want 15-18 grams of coffee.
- Place the Aeropress on a scale, if you have one, and slowly pour in 55 grams of water (if you are scale-less, use ¼ cup of water).
- Stir for ~15 seconds.
- Screw the filter cap on, flip over a mug, and plunge as quickly as you can.
Now that you’ve got espresso, you can make fancier coffee drinks!
Aeropress Recipes
You can add 8 ounces of hot water to your Aeropress espresso for an Americano. Cream and sugar, too, if that’s your thing!
Have a milk frother?
Add 8 ounces of steamed milk (non-dairy works, too!) to your Aeropress espresso for a creamy latte-like beverage. Or swap the milk for half-n-half if you’re craving a breve. Then, swirl in chocolate syrup for a mocha or order your favorite syrup flavor online.
Best Coffee Beans for the Aeropress
Dark roasts and espresso blends are both very popular for Aeropress brewing. However, all roast types are suitable for this method.
Some coffee drinkers recommend going with a roast slightly lighter than your go-to because of how rich and intense Aeropress coffee can be.
It really boils down to what kind of flavors you like best: fruity and floral or dark chocolatey and smokey?
Here are some of our favorite roasters for brewing up delicious coffee with the Aeropress!
1. Peet’s Coffee
First up is Peet’s since their coffee is affordable and easily accessible. Find it at your local grocery store, or if you’re already a Peet’s Coffee fanatic, sign up for their subscription box!
Because you’re brewing with an Aeropress, we recommend splurging on a single-origin like Peet’s Colombia. It’s a dark roast that’s also somehow still fruity and floral — how’d they do it?
2. Volcanica Coffee
Volcanica donates 1% of its sales to charity: water, a non-profit organization on a mission to provide clean drinking water to the world.
Their Guatemala Antigua is a kosher-certified medium roast with flavors of apple, tea with honey, and brown sugar. Those tasting notes plus your Aeropress are a match made in heaven.
3. Onyx Coffee
If you love knowing where your coffee comes from, the conditions, how sustainable it is, etc., then you’re going to love Onyx Coffee Lab. They give you all the info you could ever want about your new favorite coffee beans.
For the Aeropress, we were going to recommend the Ethiopian Beriti, but it’s so good it sold out!
No worries, check out the Costa Rica Las Lajas Natural in the meantime.
Grown at 1500 meters in Costa Rica, this coffee holds tasting notes of berries, vanilla, grape, and even papaya!
Troubleshooting the Aeropress (FAQ)
If you followed the brew guides above, but are still having some trouble getting your desired results, check out these frequently asked questions.
Why is My Aeropress Coffee Weak/Sour/Bitter?
If your Aeropress brewed coffee tastes too weak, experiment with using more coffee grounds. It may also be weak if you use stale or pre-ground coffee blends.
The problem is likely your grind size if it tastes sour or bitter. Remember to use freshly-roasted beans and medium-fine grind them right before brewing!
Why is it Difficult to Plunge My Aeropress?
Like sour or bitter-tasting coffee, this is also a grind size issue. If your grounds are too fine, water won’t be able to flow through them, and you’ll have a lot of trouble plunging.
Adjust your grinder, ensure you’re getting a consistent grind and that the burrs in your grinder aren’t dull.
The build-up of coffee oils on the seal can also make it difficult to press. Rinse it thoroughly*, rub any oils and grit off, and dry immediately with a soft cloth.
*Make sure your rinse water isn’t boiling hot.
Why Isn’t My Aeropress Sealing?
Unfortunately, your Aeropress plunger has a silicone seal that can suffer from compression. Part of why you never want to use boiling water in your Aeropress is because it can damage the seal.
If your Aeropress plunger is old or damaged, we recommend replacing the rubber gasket.
Conclusion
Now you’re ready to push it; push it good!
Armed with these Aeropress instructions, nothing is stopping you from enjoying a perfect cup of coffee at home or on the road.

![Batch Brewing Great Coffee [Full Breakdown]](https://caffeinecraze.com/wp-content/uploads/2023/02/unnamed-10.jpg)